


.png?v=1670223902255)

.png?v=1670223983896)

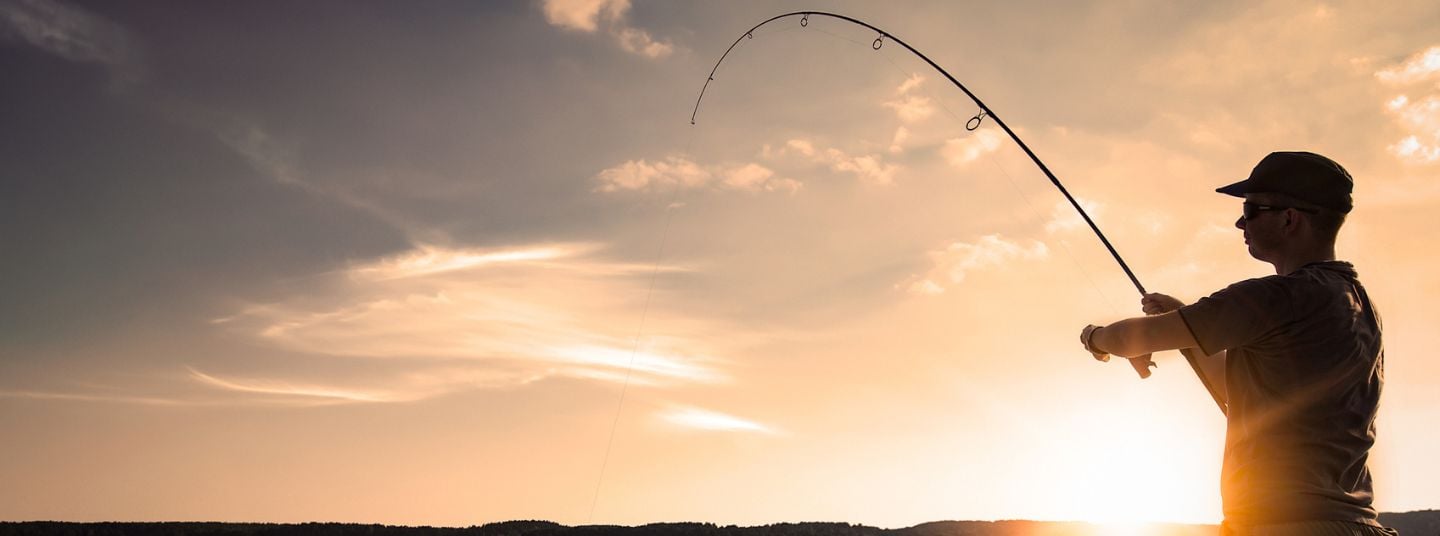
Title: "Mastering the Art: A Comprehensive Guide to Tying Essential Fishing Knots"
Introduction: Embarking on a successful fishing expedition requires more than just the right bait and a quality rod. Knowing how to tie the right knots is crucial for ensuring that your fishing gear remains secure, ultimately increasing your chances of a great catch. In this comprehensive guide, we'll walk you through step-by-step instructions on tying essential fishing knots suitable for various scenarios.
- The Improved Clinch Knot: Scenario: Perfect for securing your fishing line to the hook.
- Pass the line through the eye of the hook.
- Wrap the tag end around the standing line.
- Thread the tag end through the loop created.
- Wet the knot and tighten by pulling the tag end and the standing line simultaneously.
- Palomar Knot for Versatility: Scenario: Ideal for both braided and monofilament lines.
- Double the fishing line and pass it through the hook eye.
- Tie a simple overhand knot, forming a loop.
- Pass the loop over the hook and tighten the knot.
- Uni Knot for Strength: Scenario: Great for connecting two lines of different diameters.
- Pass the line through the eye and make a loop.
- Wrap the tag end around the standing line and through the loop multiple times.
- Tighten by pulling the tag end and standing line simultaneously.
- Blood Knot for Leader Connections: Scenario: Perfect for joining two lines of similar diameters, commonly used for leader connections.
- Overlap the two lines and wrap one end around the other multiple times.
- Repeat the process by wrapping the second line in the opposite direction.
- Tighten by pulling both ends simultaneously.
- Surgeon's Knot for Quick Connections: Scenario: Ideal for connecting two lines quickly and securely.
- Overlap the ends of the two lines.
- Create a loop and wrap the tag end through the loop multiple times.
- Tighten by pulling both ends simultaneously.
- Loop Knot for Lure Movement: Scenario: Enhances the movement of lures, allowing for more natural presentations.
- Form a small loop at the end of the line.
- Pass the tag end through the eye and wrap it around the standing line.
- Repeat the process, ensuring multiple wraps.
- Tighten the knot by pulling the tag end and standing line.
Conclusion: As any seasoned angler will attest, knowing how to tie the right fishing knots is a skill that can significantly impact your success on the water. Practice these essential knots regularly, and soon you'll be effortlessly securing your gear for a more enjoyable and fruitful fishing experience. With this guide, you're well on your way to becoming a knot-tying expert, ready to tackle any fishing scenario that comes your way. Tight lines!